Complete guide on how to clean keyboards - laptop, mechanical, and Mac keyboards. Learn proper cleaning techniques, tools needed, spill recovery, and maintenance tips to keep your keyboard in perfect condition.
In today's digital world, keyboards are essential tools for work, gaming, and everyday computing. Whether you're typing on a laptop keyboard, a mechanical keyboard for your PC, or a Mac keyboard, keeping it clean is crucial for performance and longevity. Dirty keyboards can lead to sticky keys, reduced responsiveness, and even hardware damage.
If you've ever searched for "keyboard cleaning," "how to clean keyboard laptop," or "how do you clean a keyboard on a laptop," you're in the right place. This comprehensive guide covers everything from basic keyboard cleaning tips to specialized methods for mechanical keyboards, Mac keyboards, and handling spills.
💡 Pro Tip
After cleaning your keyboard, test all keys using our keyboard tester tool to verify everything works perfectly.
Why Clean Your Keyboard Regularly?
Keyboards accumulate dust, crumbs, oil from fingers, and bacteria over time, which can affect functionality. Regular cleaning prevents issues like unresponsive keys or the need for laptop repair. According to health experts, unclean keyboards can harbor more germs than a toilet seat!
Benefits of Clean Keyboards
- Enhanced typing speed - No sticky keys to slow you down
- Reduced error rates - Keys respond consistently
- Better overall computer performance - No debris interfering with mechanisms
- Extended lifespan - Prevents premature wear and damage
- Improved hygiene - Reduces bacteria and germs
Common Problems from Neglect
- Sticky keys that don't register presses
- Dust buildup leading to mechanical failures
- Potential warranty voids on devices like laptops
- Unpleasant odors and unsanitary conditions
How Often to Clean Your Keyboard
The frequency of keyboard cleaning depends on usage and environment. For heavy users, like gamers or office workers, more frequent maintenance is key.
Cleaning Schedule
- Daily Light Cleaning: Wipe down keys with a microfiber cloth to remove surface oils and dust
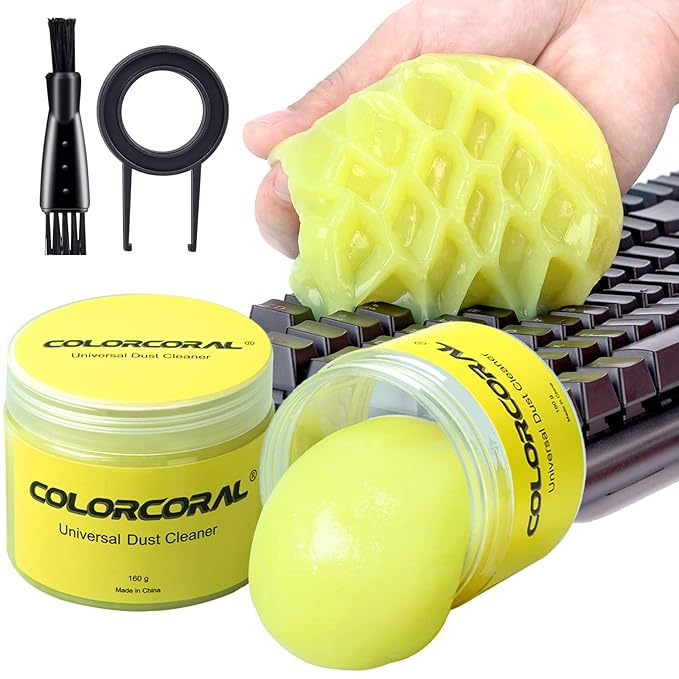
- Weekly Deep Cleaning: Use compressed air or a dust cleaner to blow out debris under keys
- Monthly Thorough Cleaning: Disassemble (if possible) and clean with isopropyl alcohol for laptops or mechanical keyboards
Factors Influencing Frequency
- High-traffic environments (e.g., shared offices) require weekly cleans
- Pet owners or those in dusty areas should clean bi-weekly
- Eating near your computer - clean immediately after spills to avoid disasters
- Gaming setups - intensive use requires more frequent maintenance
🎯 Testing Reminder
Set a reminder every month to check your keyboard's condition using our keyboard tester – it helps identify sticky or unresponsive keys early.
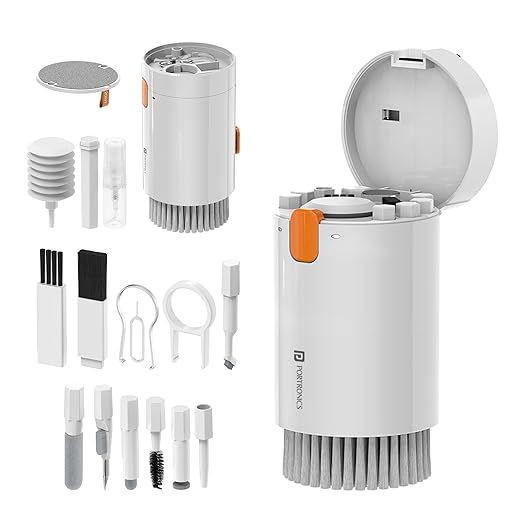
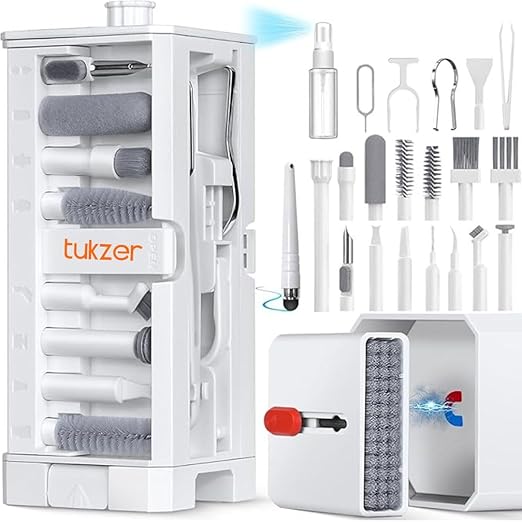
Tools and Materials Needed for Keyboard Cleaning
Before diving into "how to clean a keyboard," gather the right tools. Avoid using household cleaners that could damage electronics. Instead, opt for specialized cleaning materials designed for tech.
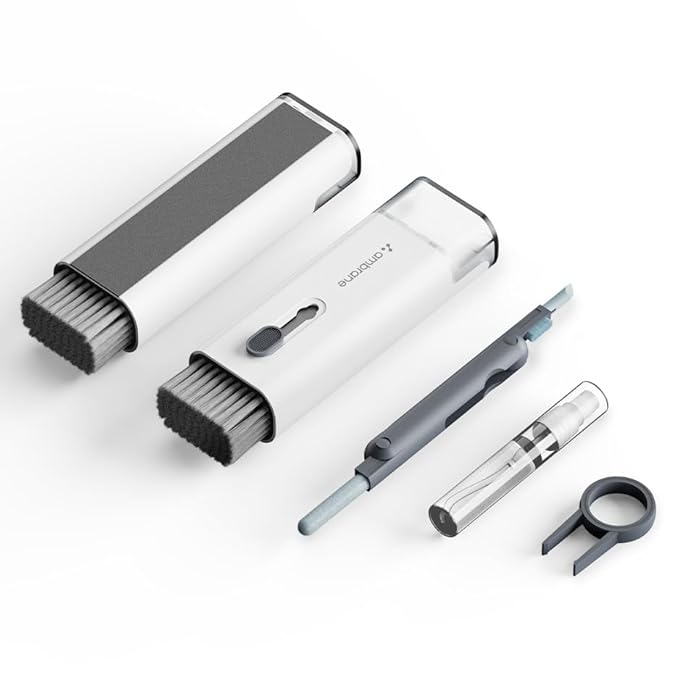
Essential cleaning tools: compressed air, microfiber cloth, isopropyl alcohol, cotton swabs, and keycap puller
Essential Keyboard Cleaning Supplies
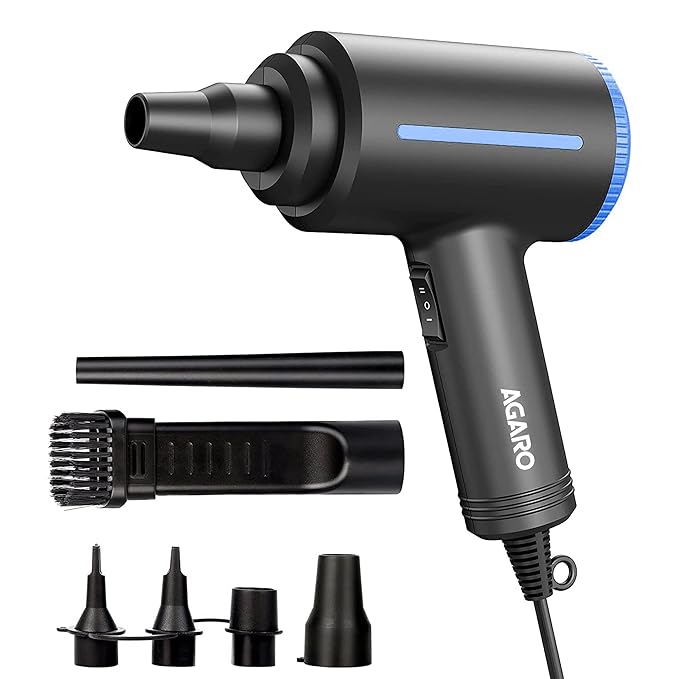
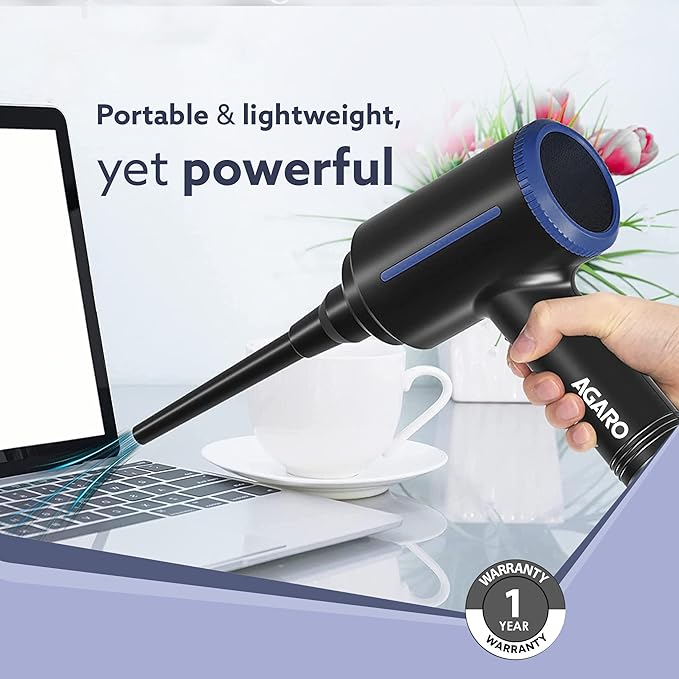
- Compressed Air Canister: Ideal for removing dust without contact
- Microfiber Cloth: Soft and lint-free for wiping keys
- Isopropyl Alcohol (70-90%): For disinfecting and removing grime
- Cotton Swabs or Soft Brush: To reach between keys
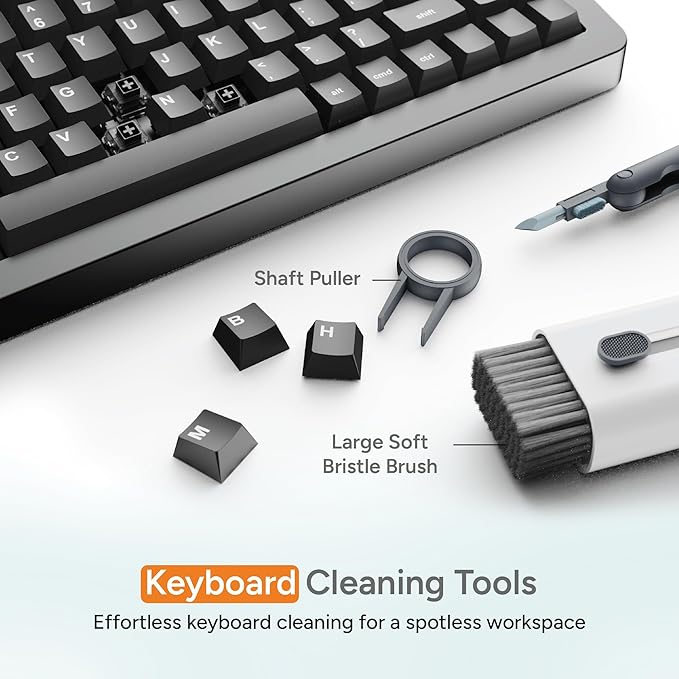
- Keycap Puller: Useful for mechanical keyboards
- Distilled Water: For rinsing if necessary (never on laptops)
Recommended Cleaning Products
For the best keyboard cleaning results, check out our recommended cleaning products section below, where we've curated professional-grade tools and supplies specifically tested for keyboard maintenance.
General Steps for Keyboard Cleaning
For any keyboard cleaning query, start with these universal steps. Always unplug or power off your device first.
- Shake Out Loose Debris: Turn the keyboard upside down and gently shake to dislodge crumbs
- Use Compressed Air: Blow short bursts between keys to remove dust
- Wipe Keys: Dampen a microfiber cloth with isopropyl alcohol and wipe each key
- Clean Between Keys: Use cotton swabs dipped in alcohol for tight spaces
- Dry Thoroughly: Allow 15-30 minutes to air dry before use
- Test Functionality: Use our keyboard tester to ensure all keys respond
⚠️ Safety Warning
Always power off and unplug your device before cleaning. Never use water directly on electronic devices, especially laptops.
How to Clean a Laptop Keyboard
Laptop keyboards are built-in, so cleaning requires extra caution to avoid damaging internals. Here's how to clean laptop keyboards safely:
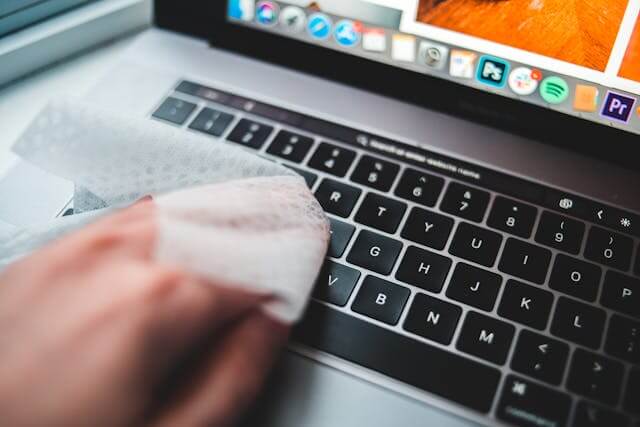
Cleaning a laptop keyboard requires gentle techniques to avoid damaging the internal components
Step-by-Step Guide for Laptops
- Power Off and Unplug: Essential to prevent electrical shorts
- Remove Loose Particles: Use compressed air at a 45-degree angle
- Clean Keys: Dip cotton swabs in isopropyl alcohol and gently swab between keys
- Address Sticky Areas: For residue, use a soft brush from a laptop cleaning kit
- Wipe Surface: Use a slightly damp microfiber cloth for the key tops
- Dry and Test: Wait 30 minutes, then test with our keyboard tester tool
⚠️ Laptop-Specific Warning
Avoid water or "keyboard wash" methods on laptops, as they can cause corrosion. Never remove laptop keys unless you're experienced with the specific model.
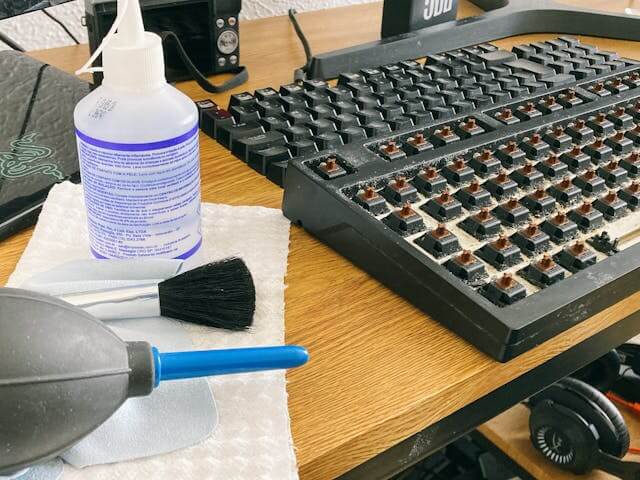
How to Clean a Mechanical Keyboard
Mechanical keyboards, popular for gaming and typing, have removable keycaps, making cleaning easier. Here's the detailed process:
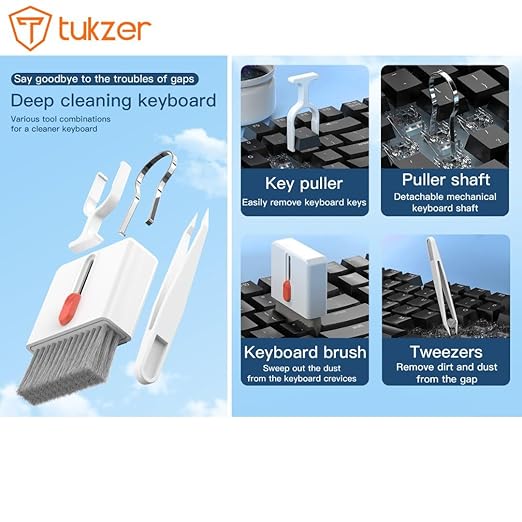
Preparation and Tools
- Keycap puller tool
- Bowl of warm soapy water (for keycaps only)
- Compressed air and isopropyl alcohol
- Soft brush for switches
Detailed Cleaning Process
- Remove Keycaps: Use the puller to pop off keys from keyboard
- Clean Keycaps: Soak in soapy water, scrub with a brush, rinse with distilled water, and air dry
- Clean Switches: Blow compressed air into the switches; wipe with alcohol-dampened swabs
- Clean Base Plate: Wipe down the keyboard base with alcohol
- Reassemble: Snap keycaps back on once everything is dry
- Final Check: Test for proper function using our keyboard tester
How to Clean a Mac Keyboard
Mac keyboards, whether on MacBooks or external, have a chiclet design that's prone to dust accumulation. Use Apple-approved methods to maintain warranty.
Specific Tips for Mac Users
- Use Compressed Air: Hold at an angle to avoid pushing debris deeper
- Wipe with Microfiber: Lightly dampened with water or alcohol for fingerprints
- Avoid Harsh Chemicals: Stick to cleaning materials for screens and keys
- For Butterfly Mechanisms (older MacBooks): Be extra gentle to prevent key failure
- External Mac Keyboards: Follow mechanical keyboard steps but skip soaking
What to Do If You Spill Liquid on Your Keyboard
Spills are common emergencies. For "spilled liquid on keyboard" situations, act fast to minimize damage.
Immediate Actions
- Power off and unplug immediately - This is critical
- Tilt to drain excess liquid - Let gravity help
- Blot (don't wipe) with a dry cloth - Wiping can push liquid deeper
- Remove batteries if it's a wireless keyboard
Cleaning After Spill
- Disassemble if possible (mechanical keyboards)
- Rinse affected areas with isopropyl alcohol to displace water
- Dry for 48-72 hours in a warm, dry place
- Use silica gel packets (rice is a myth and can leave particles)
⚠️ When to Seek Professional Help
If keys don't work after thorough drying, consider laptop repair or professional service. Test recovery progress with our keyboard tester.
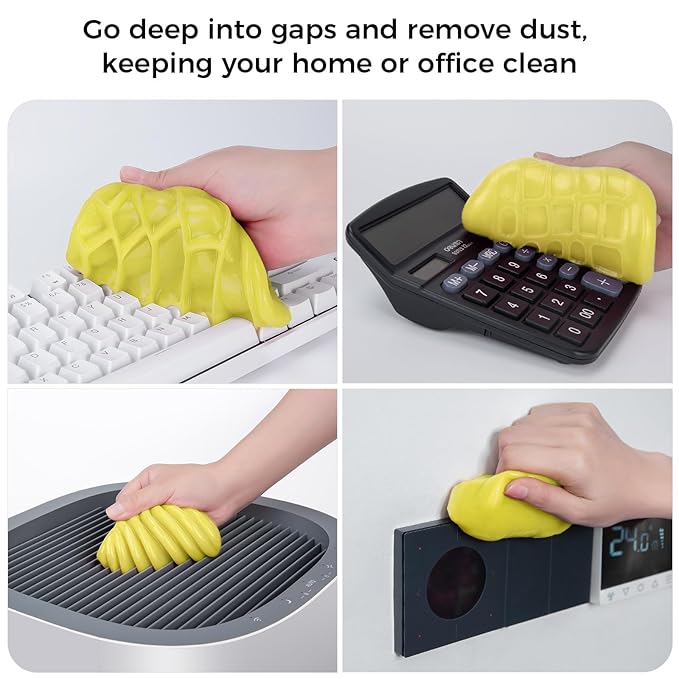
Removing Settled Particles from Your Keyboard
Settled dust and crumbs can cause keys to stick. Here are effective techniques for particle removal:
Methods for Particle Removal
- Compressed Air Method: Best for quick removal of surface debris
- Brush and Vacuum: Soft brush to loosen, then a dust cleaner vacuum
- Deep Clean: For stubborn buildup, remove keys and wipe the base
- Upside-Down Shake: Simple but effective for loose particles
Prevention Tips
- Use keyboard covers when not in use
- Keep eating areas separate from workspaces
- Regular dusting of the surrounding area
- Proper ventilation to reduce dust accumulation
Additional Tips for Keyboard Maintenance
Best Practices
- Avoid Keyboard Wash Myths: Never submerge non-waterproof keyboards
- Eco-Friendly Options: Choose reusable cleaning materials like microfiber over disposables
- For Gamers: Clean mechanical keyboards monthly to maintain RGB lighting and switches
- Temperature Considerations: Clean in room temperature environments
- Storage: Keep cleaning supplies in a dry, accessible place
Signs Your Keyboard Needs Cleaning
- Keys feel sticky or unresponsive
- Visible dust or debris between keys
- Unpleasant odors
- Keys not registering properly during typing tests
Conclusion: Keep Your Keyboard Pristine for Optimal Performance
Mastering keyboard cleaning ensures your keyboard lasts longer and performs better. Whether tackling laptop keyboards, mechanical setups, or Mac keyboards, consistency is key. Stock up on a laptop cleaning kit or keyboard dust cleaner and clean regularly to avoid spills or dust issues.
Remember these key points:
- Regular maintenance prevents major problems
- Use proper tools designed for electronics
- Act quickly on spills to minimize damage
- Test functionality after cleaning
🔧 Final Testing Step
After any cleaning session, always verify your keyboard's functionality with our free keyboard tester – it's quick and ensures no key is left behind. Test every key to confirm your cleaning was successful!
A clean keyboard is a happy keyboard. With these techniques and regular maintenance, your keyboard will serve you well for years to come. Stay clean and type on!